What to Include in Your Presentation (and how to best include it)

If you’ve read my post on Presentation Skills, you may recall that people care more about how someone talks to you more than what they say (a UCLA study shows an audience judges 93% of a presentation on the speaker’s nonverbals–the how of your presentation). If that just made you clench, go back and reread that post to set your mind at ease. Even the most introverted of introverts can still successfully present, and I show you how.
If you have a presentation coming up and are ready to start tackling content (the what of your talk), I’ve got some kick-butt tips for you. Obviously I can’t tell you what facts to include or graphics to omit because I have no idea what topic you’re speaking about. But there are certain things all effective presentations have, and I’ll list what I think are most important–especially in the writer’s world.
I’m mostly imagining you at a writers conference or an author/ school visit. But these tips fit almost every scenario.
I’m assuming–nay, begging–you have an actual presentation ala PowerPoint or Canvas vs speaking from notes the whole time. You’re cute and all but no one wants to stare at your mug the whole time. (And c’mon introverts, do you really want people staring at nothing but you the entire time?)
Hmm, maybe you want to read this what part first, before you focus on that how. Your call.
The Classic Format:
I’m sure everyone has heard the standard old format “tell them what you’re going to tell them, tell them, then tell them what you told them.” Well honestly, it still works. It’s actually kind of magical. So I’m not going to spend time explaining that. Just know you don’t have to repeat yourself word for word or be formal about how exactly you outline, explain, and recap. It’s the best method to use, IMHO, so stick with it.
The Before You Start Part; Speaking Their Language:
You need to know your audience and cater the presentation to them, at their level. (Or should I say at the level they are, regardless of where you’d like them to be.) You wouldn’t create a presentation to teachers the same way you’d present to second graders. Choose graphics, words, phrases, and examples that speak their language. Think about how they will best respond to what you’re saying, and what techniques you think they are most likely to pay attention to (and therefore learn from).
The Before You Start Part; Thinking Visually:

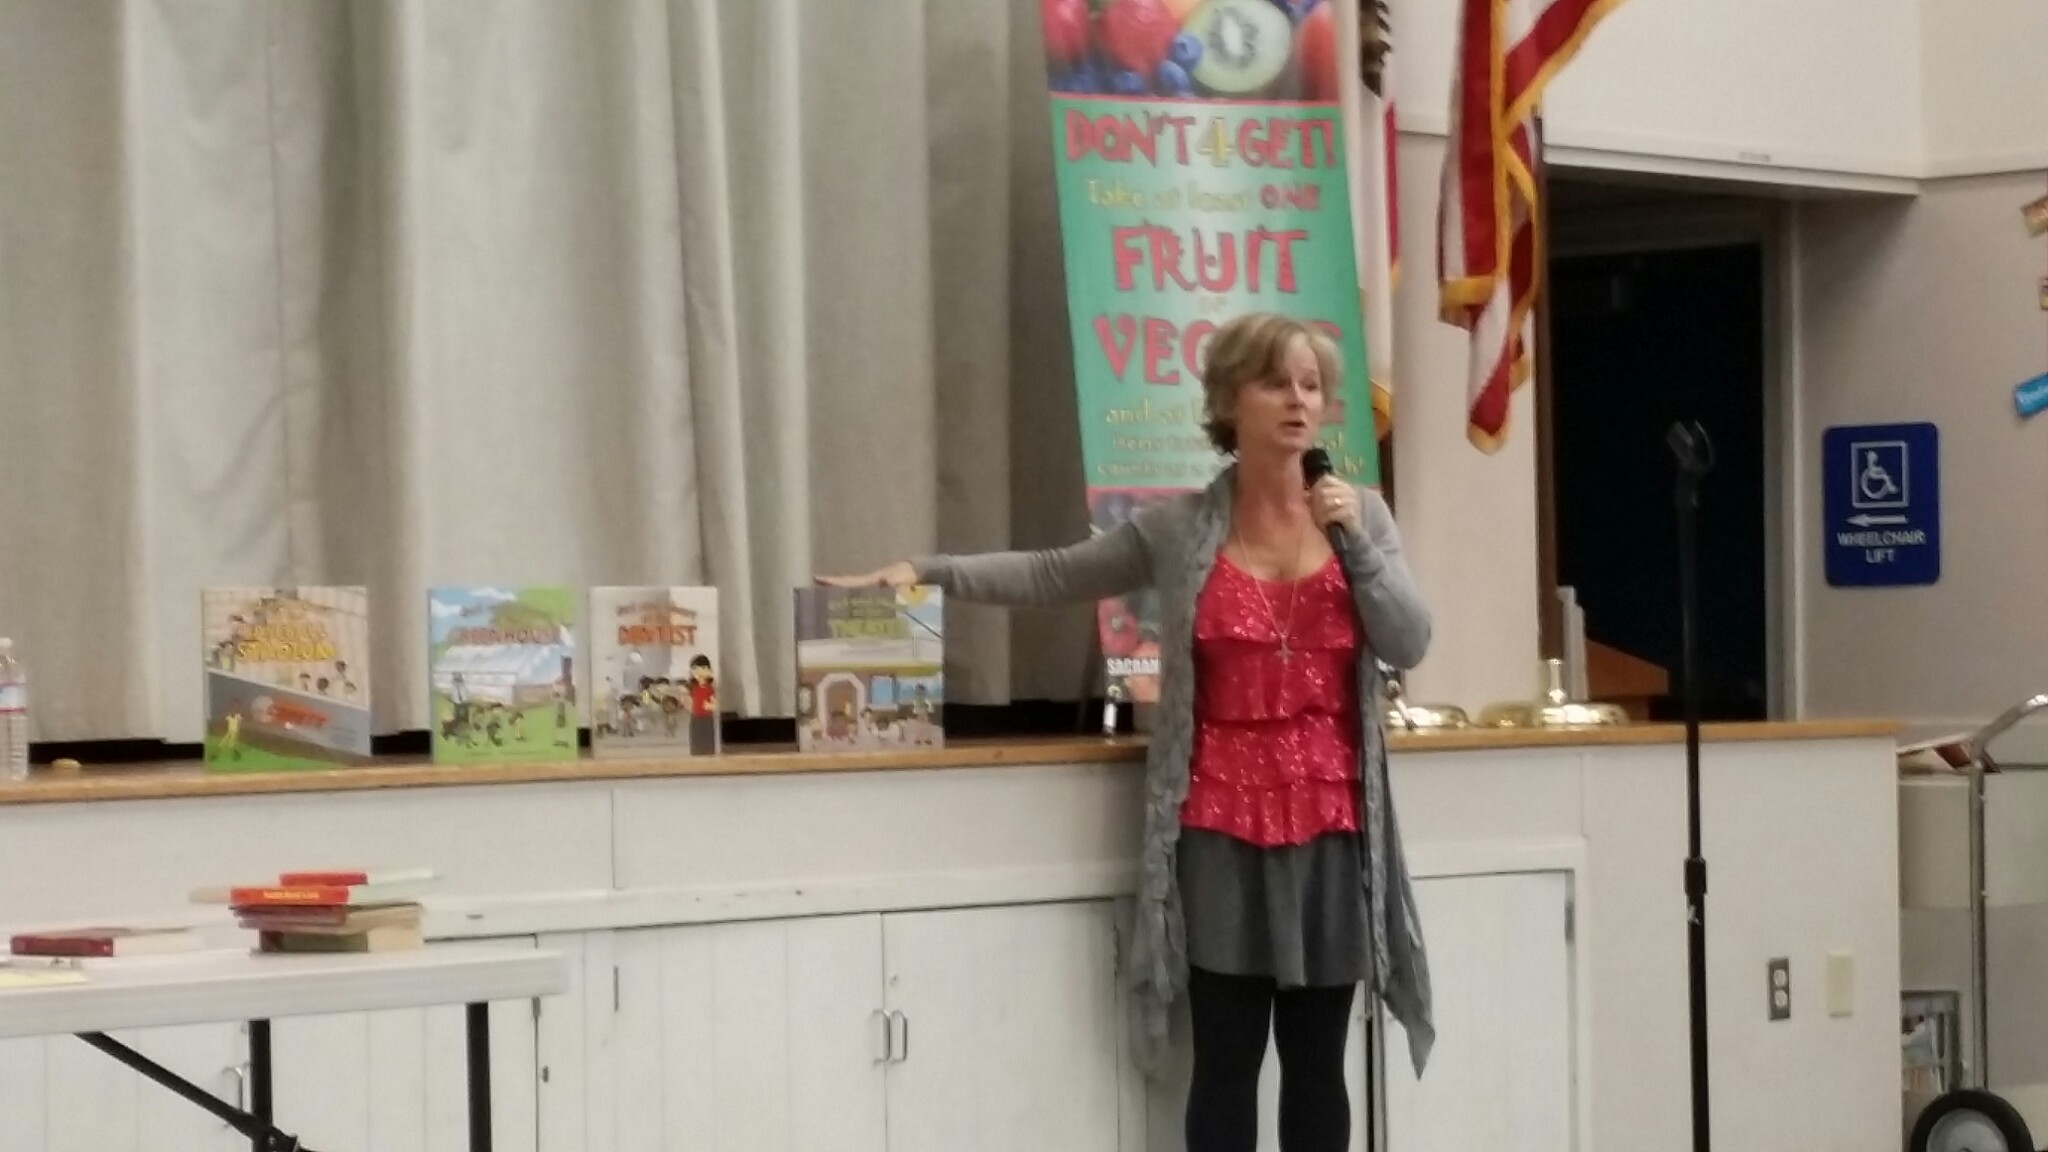
- Try to think visually. Where can you add a graphic, a photo, a colorful pie chart, do it. Audio clips, video clips.
- Think even more visually. Add show & tell items that you hold up or point to behind you. Any sort of prop. Books, stuffed animals, art work, flip charts.
- What if there was a part where you stopped and wrote on a whiteboard? What if you started drawing on it? Doing math?
- Can you introduce someone in the audience and have them stand up to wave hello?
- One note of caution: as mentioned in the Presentation Skills post I keep talking about, don’t pass anything around while you’re speaking. If people are looking at something in their hands, or distracted by the rumble of it getting passed around, it means they aren’t listening to you. Hold it up, then keep it up front and wait until you’re done to let people manhandle it. (And know it might get dirty, broken or stolen.)
Getting Down to Business; The Outline/Preview Part (Tell them what you’re gonna tell them):

It’s great to start out with a bang. A funny story, anecdote, fact. No need to stress over this, though, especially if you’re not funny or if humor doesn’t some easily for you. Many people default to a quote that summarizes the overall topic or feeling of the workshop. Simply google your topic and “quote” or “fact” (“bee facts” “quotes about bees”) and something useful is bound to come up. See “The Now-That-It’s-Written Part; Your Live Intro,” towards the bottom for more details on how to kick things off; it includes how to start your intro as well as what else to include.
Getting Down to Business; The Meat (Tell them)
- For every point you make, back it up with examples and data. You don’t need to have first-hand knowledge of everything. But it should all be factual.
- Have smooth transitions from one point to the next. Make it clear it’s a new section.
- Along the way, ask questions! People like knowing you care about their feelings or opinions. Have people raise their hands by saying “Show of hands [then raise your own hand], how many people have…?” It keeps things interactive (and keeps people on their toes if they know they might be put on the spot. But don’t put any one person on the spot, keep it a group Q). Questions that people can answer YES to are great because it gets buy-in and keeps them invested in what’s going on.
Getting Down to Business; The Recap (Tell them what you’ve told them)

- Remind them of all the main points you talked about, and bring at all home with a grand conclusion. “Now you know how to best prepare for your next presentation.”
- Leave them with a Call to Action. “I want everyone here today to give themselves a deadline to when they can start practicing their next presentation. I’ll give you 30 seconds to write it down.”
The Conclusion Part
- End with a bang. Another great place to have a quote, inspirational story, or joke. At a minimum, leave with a fun-but-relevant graphic on the screen that in large font includes your contact info, where you might be presenting in the near future, book titles/product info, and website. Keep it up until you walk out of the room.
- “Thank you for letting me be here today. I hope you learned more than you ever expected about presentations. My name is Bitsy Kemper. Thank you.” (Ideally there will be applause or at least some head nods.)
- “Any questions?”

The After Part; Q&A
Yes, you should leave time for Q&A. Spend some time trying to predict what kinds of questions you’ll get so you can either a) go back and include that content in the presentation, or b) have answers ready so you’re not caught off guard.
You’ll still have people raising their hands afterwards, even if you don’t officially include a Q& section. You are the content expert and people will understandably want to pick your brain. Yeah, sure, there might be a few chomping at the bit to prove they know more than you, but keep your cool. Control the room.

- If questions were asked during the presentation that you are going to cover, do no answer the question. State “We will answer that in about two minutes.” Then move on.
- If questions were asked that you don’t cover, don’t answer them right then either. You are in control, remember. “I don’t cover that here, but let me write that down and we can go over it in Q&A after the talk.” Use a flipchart or whiteboard if avail so they know you are taking it seriously.
- Question that came out of left field? “That’s a great question but a little off topic for what we’re learning today. I can talk to you after for a little bit.” That’s it. Move right on to next slide, Q, or point.
- If someone challenges you or picks apart your facts/presentation, be gracious. They just want attention. You typically don’t have to challenge them back. “Thank you for your feedback. [pause] Anyone else with questions?” seems to be very effective. That lets them know they’ve been heard.
- Have I mentioned “Control the room” enough? It’s your show. Not theirs. You have the mic. You get the last word. Just make sure it’s a kind one.
The Now-That-It’s-Written Part; Your Live Intro:

- Kick off your talk by pandering to the audience. It works Every. Time. You know how rock stars shout out “Hello Sacramento!” and the local crowd goes wild? The crowd feels seen. Special. As if this concert is only for them and hasn’t been done exactly like this on tour all 147 times earlier this past year. Do the same thing. Unless you’re not in Sacramento. Start with “Hello, Cherry Avenue Second Grade!” or “Good morning, writers and illustrators!” They will know you are there–for them and only them.
- Next, slowly and carefully state your name (don’t assume everyone knows you!) as well as the name of the session/workshop/talk or topic. “I’m Bitsy Kemper and this is Presentation Skills Part II: Content.” This allows an early and fast exit to anyone that is in the wrong room.
- Start your slide presentation after you say your name and after the title of the talk. Don’t have it up before you talk, or the second you start talking. You want people to get used to focusing in on YOU, not watching the screen.
- Give a sentence or two on why YOU are the content expert and why you are uniquely qualified to be giving this presentation. Toss in a fun fact if you’d like. “I’ve been presenting professionally for years. You may have seen me on CNN or on one of my regular TV news segments in Sacramento, Portland, Phoenix, or Albuquerque, heard me on national radio, read my syndicated newspaper column, or seen me in any of literally hundreds of media outlets across the country. Maybe you’ve driven by me on the freeway and didn’t even know it!”
- Dive right in with “Today you are going to learn…” (see the important reason why you don’t lead with “Today I am going to talk about…” in DON’T #1 here)
The Now-That-It’s-Written Part; Handouts
- PEOPLE LOVE HANDOUTS. Please do yourself a favor and create something, anything. The audience will not only love you extra for it, but they’ve got a tangible piece of you they can take with them. It’s the best marketing tool!
- As with visuals, don’t pass them out while or even before you’re talking. It’s a distraction; people look ahead or read instead of listen. Let them know you have handouts and will be distributing afterward. It helps ensure people stay until the end 🙂
- Don’t include proprietary info or anything that would prevent someone from coming to your session next time. Give them just enough to remember what you were saying and how great you were; not the whole presentation.
- Make SURE you have enough for everybody. This is ESPECIALLY important at schools. Don’t give away 60 bookmarks and leave 42 kids without. If you realize you’re shorthanded, don’t sweat it. Mail 102 to the school afterward. This goes for anything when it comes to kids: HAVE ENOUGH FOR EVERYONE. I learned the hard way. After a school visit a kid asked me for my autograph. I said sure, and grabbed the one piece of letterhead I had handy. Big mistake. Another kid came running over. “Can I have your autograph?” I didn’t have any other paper. I tore off a piece of scrap paper from my school-visit contract, the only other paper I had. The first kid gloated. A third kid came running over. I tore a scrap of paper even smaller. Fourth kid. No paper left. I asked if he had any paper or notebook that I could sign. He did not. First kid gloating even more. Kids that were dismissed from the assembly started running back in and lining up. I had no paper. At all. Kids wanted autographs. “It’s not fair so-and-so got one.” The teacher Was. Not. Pleased. Lesson learned.
I promised you kick-butt tips on creating the content of your presentation and hope I delivered.
Let me know if you learned anything. If you use them. If you have other tips.
Now stop reading and start preparing. You’ve got lots to do. And you’re gonna do great.

Leave a Reply